
About Knowledge Clips
Knowledge clip, studio recording, lecture video, talking head video, educational video. There are many names for this type of educational video. On this page, we use the term knowledge clip: a short video by an expert, typically around 6 minutes, used to transfer knowledge to learners. A knowledge clip deals with one topic and typically uses a slide deck or images to convey the story.
Benefits for students
- Learn at their own time and pace
- A more engaging alternative to written instructions
- Rewatch just the parts they don't understand yet, or get help with a difficult topic
Benefits for teachers
- Reusable across course editions, tasks, and activities
- Spark enthusiasm by showing real-world applications
- Prepare students for a class, or offer a perspective a live lecture can't
Definition: Knowledge clip
An educational video in which the lecturer can transfer knowledge, inspire students, condense information, build a story step-by-step, and offer students the freedom to rewatch as often as needed.
Contact [email protected] or book your intake meeting to discuss your idea and get started.
Didactic purpose of knowledge clips
Whether you are designing a complete online master program, or you only want to produce a single knowledge clip, you should always consider the main goal of a video. There are mainly four didactic purposes of educational video, which are listed below.
Focussing attention
You are designing a course or video series and try to do this in a logical manner. A clear structure and linking information will improve the effectiveness of learning and will keep the audience on track. Therefore, focussing attention to what is important, is one of the key aspects in education. In an educational video, focussing attention can be done by giving a clear introduction and going over a course guide or schedule for example.
Acquiring
Teaching new concepts, theories, methods and skills, all fall under the purpose of acquiring. This is where the real new information is offered to your audience. In a video this has to be done in a clear, step by step manner. An often-made mistake is that a teacher tries to put too much information in one single clip. Explaining one abstract concept at a time, ensures that students can absorb the information that you just have offered and gives them the opportunity to process it.
Processing
Connecting new information, concepts and methods to real world applications and examples, will improve the understanding of the topic drastically. There are many options to use educational videos for processing.
Feedback
To move information from the short-term memory to the long-term memory, the information should be used more than once. Summarising or discussing what is learned in previous teaching activities and videos, is a good way to do this. There are many ways in which you can do this in an educational video such as answering FAQs.
Watch the video below to get a feeling of what a knowledge clip can be like!
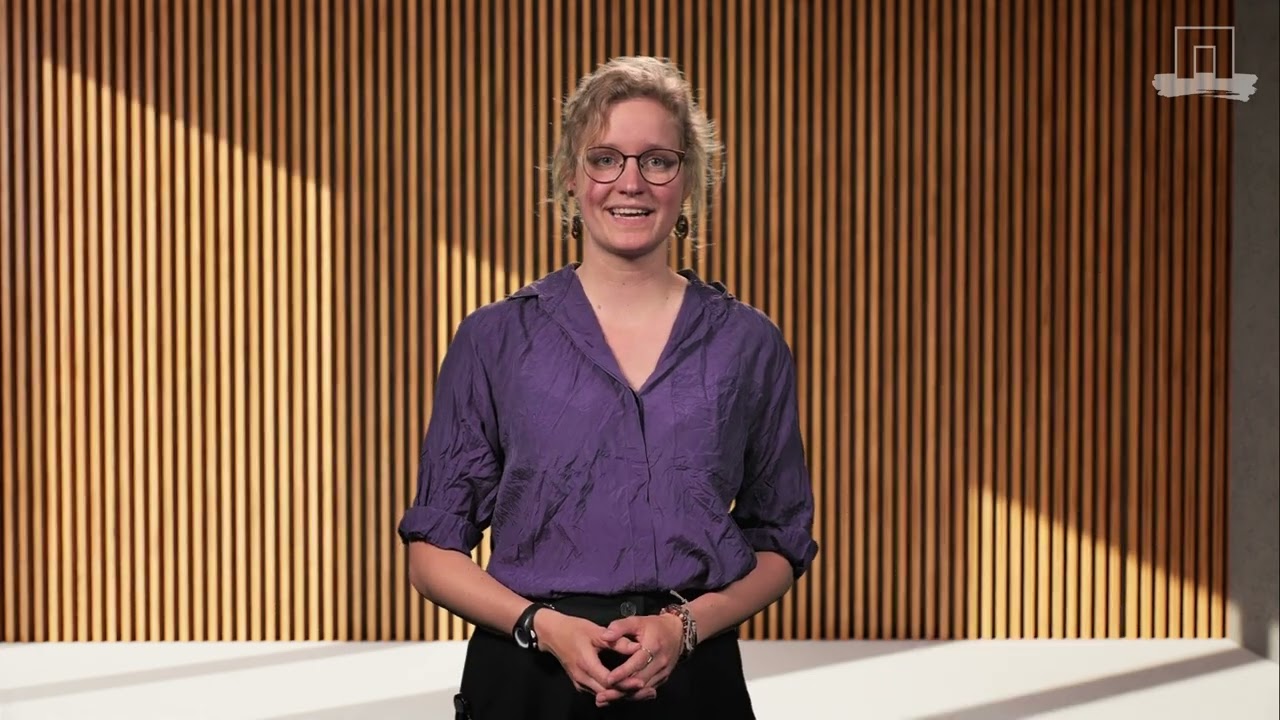
Want to get started? We offer a course that helps you go from idea to a finished knowledge clip step by step. From formulating your key message and goal, to recording in the Dragonfly studio: https://brightspace.wur.nl/d2l/le/discovery/view/course/293225.
Knowledge Clip production process at WUR
The Educational Media team helps you record your knowledge clip in the Dragonfly studio in Atlas. We will support you with:
- An intake meeting, to explore ideas & provide guidance;
- Availability for questions through email via [email protected];
- Feedback on your first draft and final product;
- Studio operation during recording.
- Sharing the published video with you.
Have you already had your intake interview? You must complete an intake interview before booking a studio. Contact us at [email protected] or book directly to schedule your intake interview. Only after the interview, and once you are fully prepared, you can reserve our recording facilities.
We ask you to deliver the metadata for every recording you are planning to record during the reserved time slot. We need this to record and publish your video. Visit the Studio Clip Portal, click “add” in the top left corner and fill in the details. Click “help” in the top right corner for a walkthrough screencast or learn more in the article Creating a Studio Clip Portal entry.

After creating an entry, select and download a PowerPoint template at the very right of your entry on the Studio Clip Portal. The system in the knowledge clip studio is PowerPoint-driven. This means, every recording is started and controlled by PowerPoint slides, where the autocue text is loaded from the notes section in PowerPoint. You cannot just use any PowerPoint deck. The Educational Media Team created five standard video formats, that require a specific PowerPoint template. These PowerPoint templates can be downloaded in the Studio Clip Portal when you have submitted the metadata.
To choose between any of the formats, it is important to match your personal style, your personal preference, but also to match other knowledge clips within your course or even your department. Also, you can ask the following questions:
- What is the most important to focus on in this clip, the teacher or the PowerPoint or the procedure?
- Do you want the text size and slides to be big enough for mobile devices? (Full screen or screen recording)
- Do you want to spend a little more preparation time to make the slides visually engaging and maybe even interactive with yourself? (Choose a full screen setting).
To make the videos of the WUR as uniform and recognizable as possible, some elements are included in all videos. We make use of standard WUR bumpers (intro and outro animation) which contains the WUR logo. After a few seconds of recording, the name and title of the presenter will appear, which makes it obsolete to introduce oneself.
In addition it is possible to present with more then one presenter, you can use props or a table, insert a full screen video, use a second camera or use a top camera to film certain actions from above. It is important to let us know when you want to use any of these additional options. If what you need doesn't fit one of the formats, we can customize the recording to your wishes.
The formats you can choose from are:
1. The Switcher
Show either the presenter or a full screen slide. Ideal for recorded feedback sessions when you want to focus on the content of the slide and add a personal touch to motivate students. Or use this for dry content, where you can use the presenter to add “wake-up calls” in between content parts.
2. The Late Night Show
No more boring knowledge clips. Approach knowledge differently with this format: focus on a story, and use clips or visuals to emphasize or add comic effect. Less suitable for explaining concepts, but a great way to show a bit of the real world in your classroom!
3. The Classic
Traditional format with a slide and presenter. Recognizable format to explain or transfer new knowledge and might be really suitable if you want an easy way to transform your current lecture slide to a video format.
4. The Minimalist
Just you in a plain background. Nice format for short clips where you want to address the audience personally. Nice examples of use can be: feedback, recapping a week or learning interventions
5. The Weatherman
The format that allows for a lot of creativity from the presenter. Because you are in front of the slide, you will get a lot of freedom to play around. Depending on your own design, this format can be made suitable for all kinds of purposes: from knowledge transfer to inspiration.
Your final Dragonfly PowerPoint will contain:
- A filled-in title slide;
- Your visuals (in the form of PowerPoint slides);
- Your script (in the notes of each slide).
Most educators write their script in Word, then copy-paste it into the notes later.
Check this video on how to use the PowerPoint templates:
Do
- Do place your script in the notes of the PowerPoint, since the studio’s system will automatically read them from there and send them to the autocue.
- Do use the template you downloaded in the Studio Clip Portal as a base for the PowerPoint. The system of the studio automatically reads this information when recording.
It is NOT important that you stick to the text structure provided, as long as the correct layout is selected.
- Do try to stick to Century Gothic for titles and OpenSans for content. Use font sizes consistently and think about readability of text when the video is played on a mobile device.
- Do give credit for images. Correctly referring to the source of the images you use is important. This especially true for knowledge clips, since your these will be recorded and distributed (e.g. in Brightspace, EdX, or Youtube). You can learn more in the article Finding free-to-use images for your video.
- Do only add information to your PowerPoint if this supports your story and helps the learner to understand it better.
- Do use visuals to emphasize your story
- Do create basic, clean slides
Do not
- Do not overdo it. Keep the ppt essential. The visuals should only support you and your story, not compete with it.
- Do not use too many overlapping colours, especially red on green (and vice versa) or blue on yellow (and vice versa). Colour blindness is a rather common condition.
- Do not use a WUR corporate presentation. During your presentation, there will be a WUR logo as a watermark at the top right corner. Hence, the video will be branded properly.
- Do not write down the title of the presentation, the chair group you are working in or the name of the course that the video is for. The video will be included in your learning environment, so the course name and chair group will be clear. You can give your video a title at the platform itself. The subject will become clear from what you will be telling.
- Do not use your slides to repeat your spoken text.
- Do not use to much text (guideline: 6 bullet points with 5-6 words per bullet is considered a really full slide)
Send your finished PowerPoint (with your script in the notes) to [email protected] at least one week before your recording date, and we'll happily take a look and share our thoughts.
You can practice your script with the cueprompter: https://cueprompter.com/
The last step is booking a studio timeslot.
- Go to EduMedia Studio booking page
- Choose an available timeslot
You can book a recording with 13 days minimal lead time. You can book a recording maximum 20 weeks ahead.

- Provide your personal information and information about the recording session.
In case you are not the presenter of the session, make sure the information of the presenter is provided. This is needed in case of cancellation of the session.
- Click "Make Reservation" when you're done providing your personal information
Now you will get a confirmation screen with additional info. You will also get the option to modify your reservation.
If needed, a session supporter will be assigned automatically and you will receive a confirmation email. In this email you'll find additional information about the service you requested. If you are not the presenter of this reservation, make sure you forward this email to that person. It provides you with an attachment called R [xxxxxx].ics which you can open (doubleclick) and add this reservation to your own (or someone else's) calendar. You can also find options to modify or cancel your reservation. That is why we recommend you to keep this conformation email!
The following checklist can be used to make sure you are all set to go: Ready to record?
Want to know more about video and podcasts for education?
Please visit:
0 Comments
Add your comment